This is just an install success story of Libero on Debian 9 (stretch). For the Risc-V contest, I recently acquired the Microsemi IGLOO2 development kit named FUTUREM2GL-EVB distributed by Futur-Electronic.
The development software for the IGLOO2 is named Libero and according to Microsemi, should works on Linux. But officially support only RedHat, CentOS and SuSE … not Debian. Microsemi provide a Linux installation guide to install it. It’s useful but should be adapted for Debian.
Download and install Libero
The first thinks to do is to download the installing file for Linux (and not the SP1 file which is only an update). Once downloaded we just have to launch it, if it’s not executable we can change rights with chmod command.
$ chmod 666 Libero_SoC_v11.9_Linux.bin
$ ./Libero_SoC_v11.9_Linux.bin
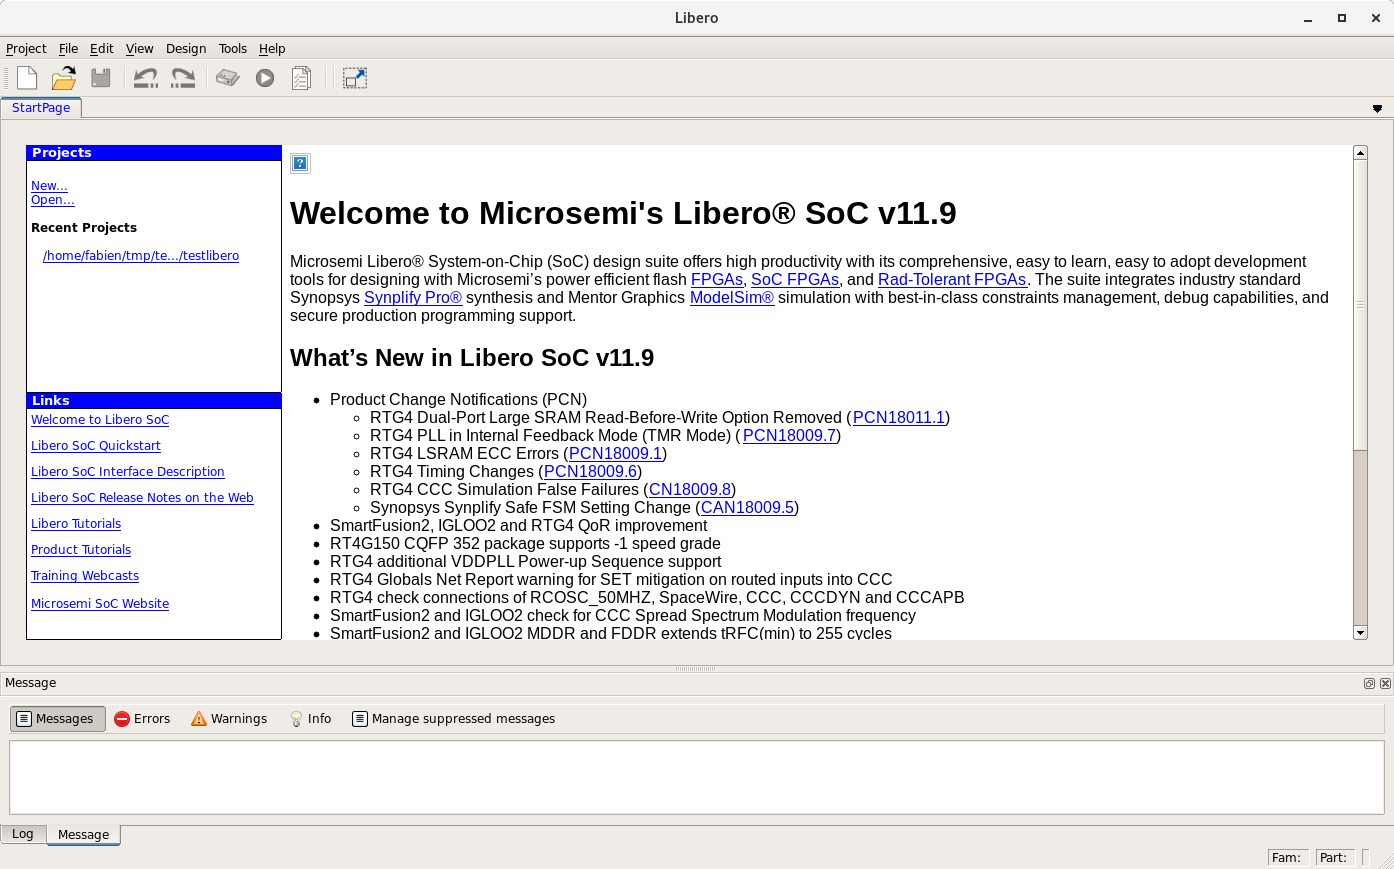
An install windows will raise and we can follow directives.
Licensing
Once installed, we need to install the license. For that, we need to know our mac address :
$ ip addr show dev eth0
[...]
link/ether 12:34:56:78:9a:bc [...]
The key that should be given to Microsemi is in upper case without ‘:’ :
$ ipython

In [1]: "12:34:56:78:9a:bc".replace(':','').upper()
Out[1]: '123456789ABC'
With this key we can then ask for a license file on microsemi website. The official Linux guide talk about license.dat file, but for me it was license.zip … Both are zip file in fact. We can then unflat it with unzip command:
$ unzip License.zip
Archive:  License.zip
  inflating: License.dat
The unflated file is a text file that should be edited with you text edito as explained in guide (page 6).
License server
The license server deamon must be downoaded on official microsemi website. Choose «Linux deamon» in table. It’s an archive of several binaries that should be unflated :
$ cd
$ tar -zxvf Linux_Licensing_Daemon.tar.gz
Linux_Licensing_Daemon/
Linux_Licensing_Daemon/actlmgrd
Linux_Licensing_Daemon/lmgrd
Linux_Licensing_Daemon/lmhostid
Linux_Licensing_Daemon/lmutil
Linux_Licensing_Daemon/mgcld
Linux_Licensing_Daemon/snpslmd
Linux_Licensing_Daemon/syncad
Linux_Licensing_Daemon/synplctyd
Export shell variables
Before launching software, we have to export some paths in our .bashrc :
#Libero
LIBERO_LICENSE_FOLDER=/home/giselle/flexlm
LD_LIBRARY_PATH=/usr/lib/i386-linux-gnu/:/usr/lib/x86_64-linux-gnu/
# For Floating License from a License Server
export LM_LICENSE_FILE=1702@gisellelaptop:$LM_LICENSE_FILE
export SNPSLMD_LICENSE_FILE=1702@gisellelaptop:$SNPSLMD_LICENSE_FILE
# <1702> is the port number
# martonilp is the license server host name
#For Node-Locked License
export LM_LICENSE_FILE=$LIBERO_LICENSE_FOLDER/license.dat:$LM_LICENSE_FILE
export SNPSLMD_LICENSE_FILE=$LIBERO_LICENSE_FOLDER/license.dat:$SNPSLMD_LICENSE_FILE
export LD_LIBRARY_PATH=$LD_LIBRARY_PATH:/usr/lib
export DISPLAY=:0
export PATH=/opt/microsemi/Libero_SoC_v11.9/Libero/bin:$PATH
On my computer, Microsemi softwares are installed in /opt/ directory.
Launching Libero
First launch license server :
$ cd
$./flexlm/lmgrd -c ~/flexlm/License.dat -log /tmp/lmgrd.log
Once license server launched we can run Libero :
$ libero
/opt/microsemi/Libero_SoC_v11.9/Libero/bin/libero_bin: /opt/microsemi/Libero_SoC_v11.9/Libero/lib/libz.so.1: no version information available (required by /usr/lib/i386-linux-gnu/libpng16.so.16)
I had a little problem with libz provided with libero package, then I removed it and linked libz of my distribution :
$ apt-file search libz.so
lib32z1: /usr/lib32/libz.so.1
lib32z1: /usr/lib32/libz.so.1.2.8
lib32z1-dev: /usr/lib32/libz.so
zlib1g: /lib/x86_64-linux-gnu/libz.so.1
zlib1g: /lib/x86_64-linux-gnu/libz.so.1.2.8
zlib1g-dev: /usr/lib/x86_64-linux-gnu/libz.so
...
$ cd /opt/microsemi/Libero_SoC_v11.9/Libero/lib
$ mv libz.so.1 oldlibz.so.1
$ ln -s /lib/x86_64-linux-gnu/libz.so.1 libz.so.1
And then managed to launch it :
$ libero
But it’s unfortunately not finished.
First, when I tryied to synthesize I had this message in error window :
/opt/microsemi/Libero_SoC_v11.9/Synplify/bin/synplify_pro: 137: [: unexpected operator
/opt/microsemi/Libero_SoC_v11.9/Synplify/bin/synplify_pro: 151: [: !=: argument expected
/opt/microsemi/Libero_SoC_v11.9/Synplify/bin/synplify_pro: 324: /opt/microsemi/Libero_SoC_v11.9/Synplify/bin/config/execute: Syntax error: "(" unexpected (expecting ";;")
The problem come from the shell Debian uses by default :
$ ls -lha /bin/sh
lrwxrwxrwx 1 root root 4 oct.  29 20:50 /bin/sh -> dash
This shell doesn’t work like bash and generate some error in synplify scripts. To solve it I simply changed the /bin/sh link to /bin/bash :
$ cd /bin/
$ sudo mv sh shold
$ sudo ln -s bash sh
And I managed to synthesize my design.
…
But it’s not finished ! Once my bitstream generated I would like to download it on the IGLOO2 on kit. For that, we have to install correctly drivers for FlashPro5.
Directives are given in the official Microsemi Linux install guide, but udev syntax is false on Debian :
BUS=="usb",SYSFS{idProduct}=="2008",SYSFS{idVendor}=="1514",MODE="0660",GROUP="",SYMLINK+="FlashPro5"
BUS=="usb",SYSFS{idProduct}=="6001",SYSFS{idVendor}=="0403",MODE="0660",GROUP="",SYMLINK+="FTDI232"
Right rules are following :
# FlashPro5
SUBSYSTEM=="usb", ATTR{idVendor}=="1514", ATTR{idProduct}=="2008", MODE="0666", GROUP="plugdev"
SUBSYSTEM=="usb", ATTR{idVendor}=="0403", ATTR{idProduct}=="6001", MODE="0666", GROUP="plugdev"
Should be written in /etc/udev/rules.d/70-microsemi.rules file.
Then fully works and they lived happily and urged a lot of children